
Dermaplaning might sound intimidating, but it's actually one of the gentlest exfoliation methods you can do at home. This professional-grade technique removes dead skin cells and peach fuzz using a precision blade, leaving your skin impossibly smooth and glowing. The best part? When done correctly, it's completely painless and causes zero irritation.
If you've been curious about dermaplaning but worried about redness or sensitivity, this guide will walk you through every step to achieve salon-quality results in your own bathroom. Let's dive into the foolproof method that keeps your skin happy and healthy.
What Exactly Is Dermaplaning?
Dermaplaning is a non-invasive exfoliation technique that uses a sterile surgical blade to gently scrape away the top layer of dead skin cells and vellus hair (that's the technical term for peach fuzz). Unlike harsh scrubs or chemical peels, dermaplaning provides immediate results without any downtime or recovery period.
The process essentially gives you baby-soft skin instantly while creating the perfect canvas for makeup application. Your foundation will glide on smoother, your skincare products will absorb better, and you'll notice an immediate brightness that lasts for weeks.
The Pre-Treatment Setup That Prevents Irritation
Start with Squeaky Clean Skin
The foundation of irritation-free dermaplaning begins with proper preparation. Wash your face with a gentle cleanser using lukewarm water: nothing too hot or cold. Remove every trace of makeup, sunscreen, and daily grime. Your skin needs to be completely clean and dry before you begin.
Pat your face dry with a clean towel instead of rubbing. Wet or damp skin can cause the blade to drag, leading to potential nicks and irritation.
The Toner Step You Can't Skip
Here's where many beginners go wrong: they skip the toner. Apply a gentle, alcohol-free toner across your entire face using a cotton pad or by gently patting it in with clean hands. This step serves a crucial purpose: it tightens your pores temporarily, preventing dead skin cells from getting pushed deeper into your skin during the process.
Wait about 30 seconds for the toner to dry completely before moving to the next step.
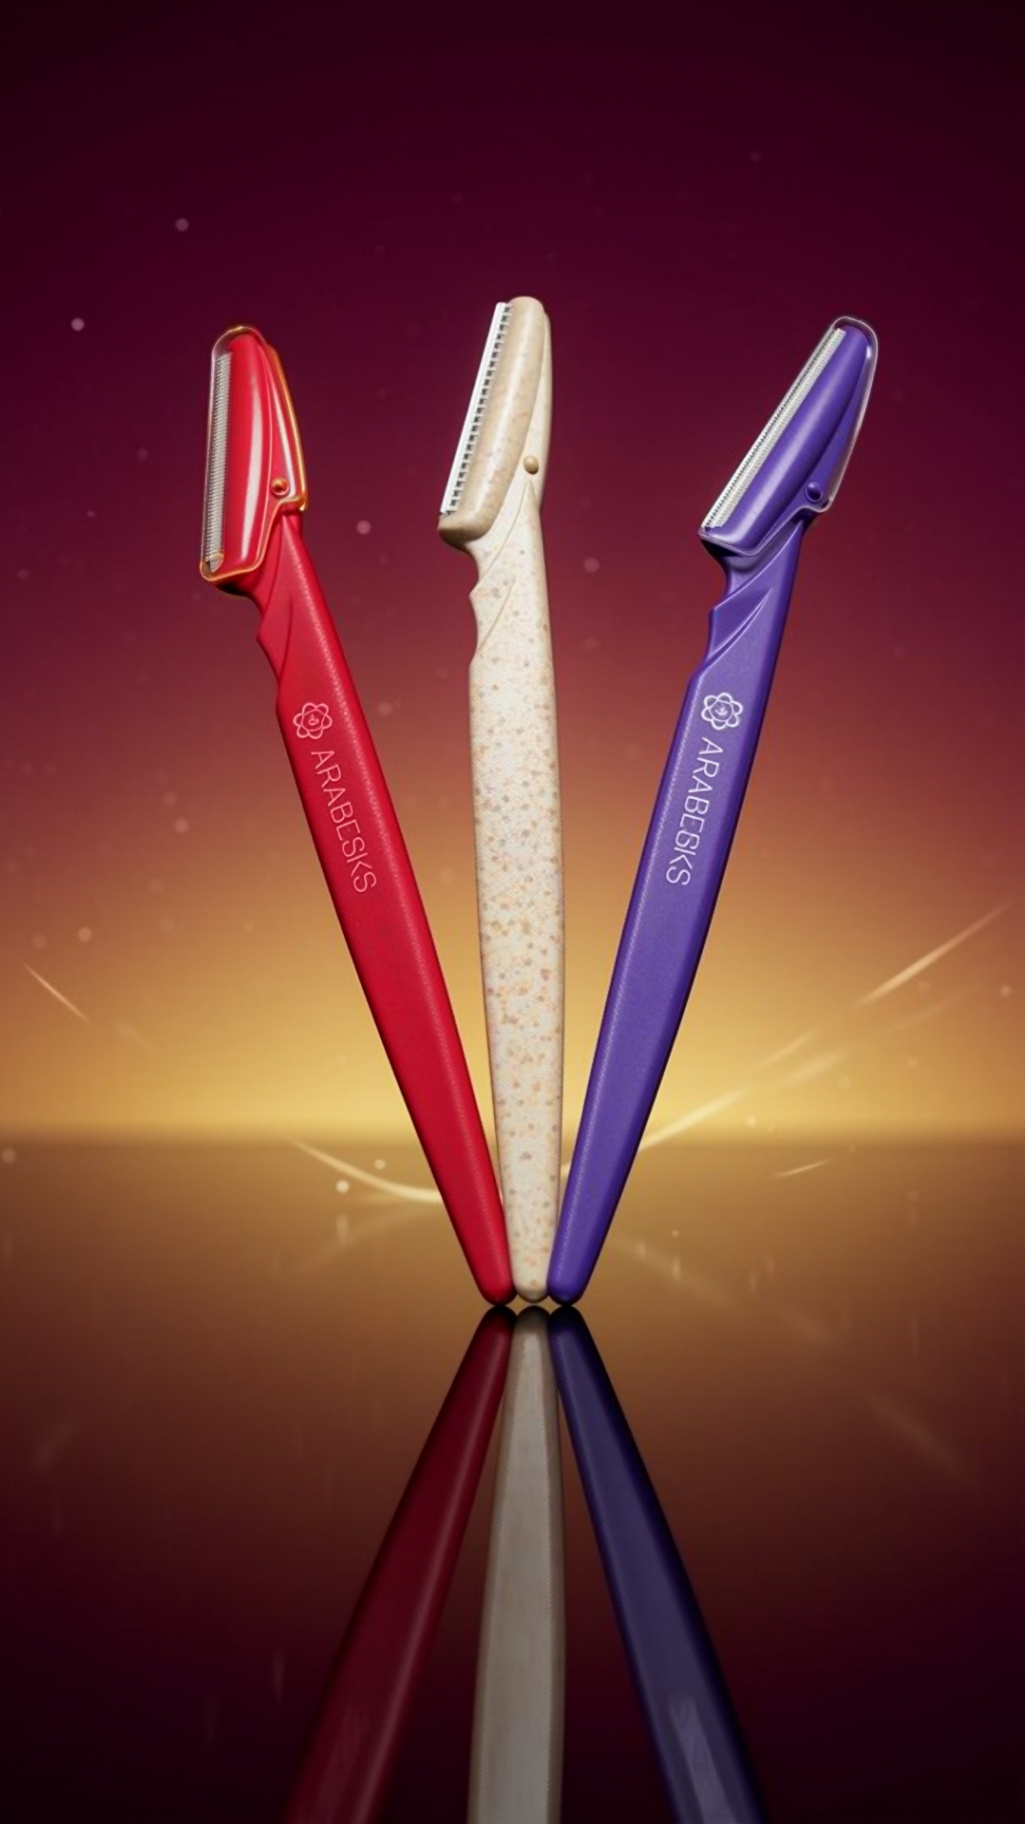
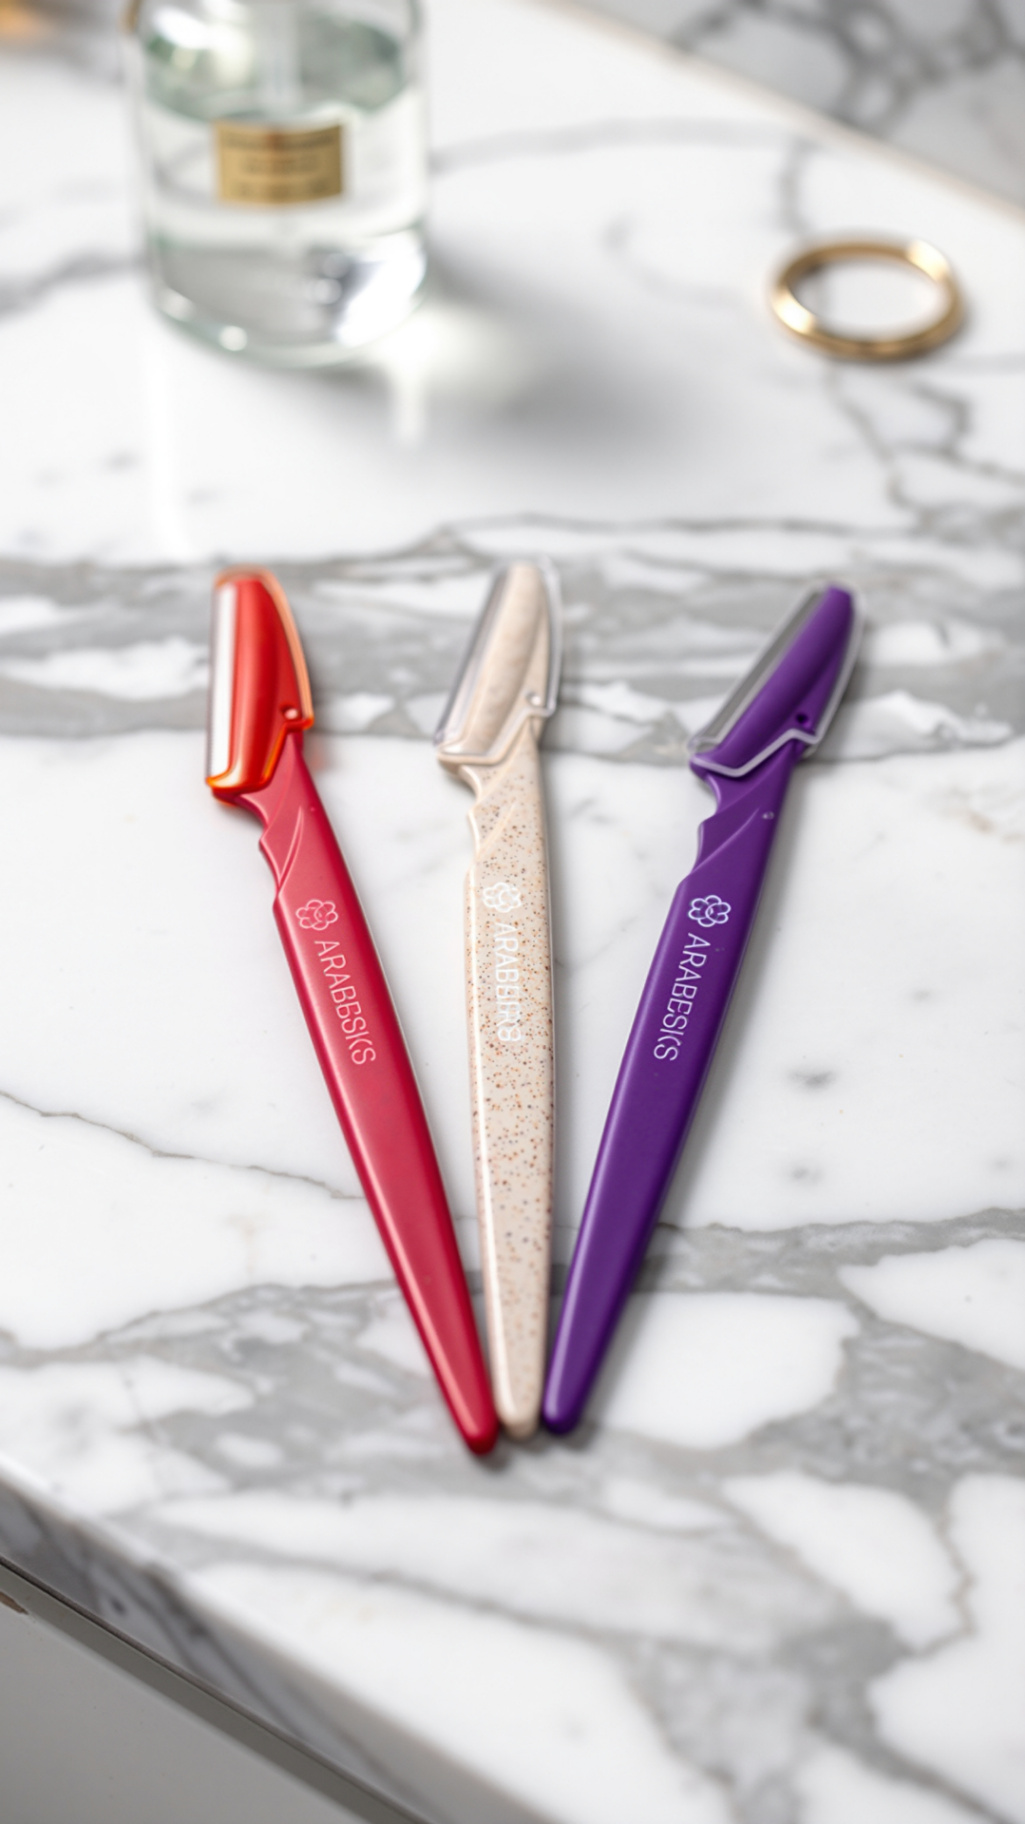
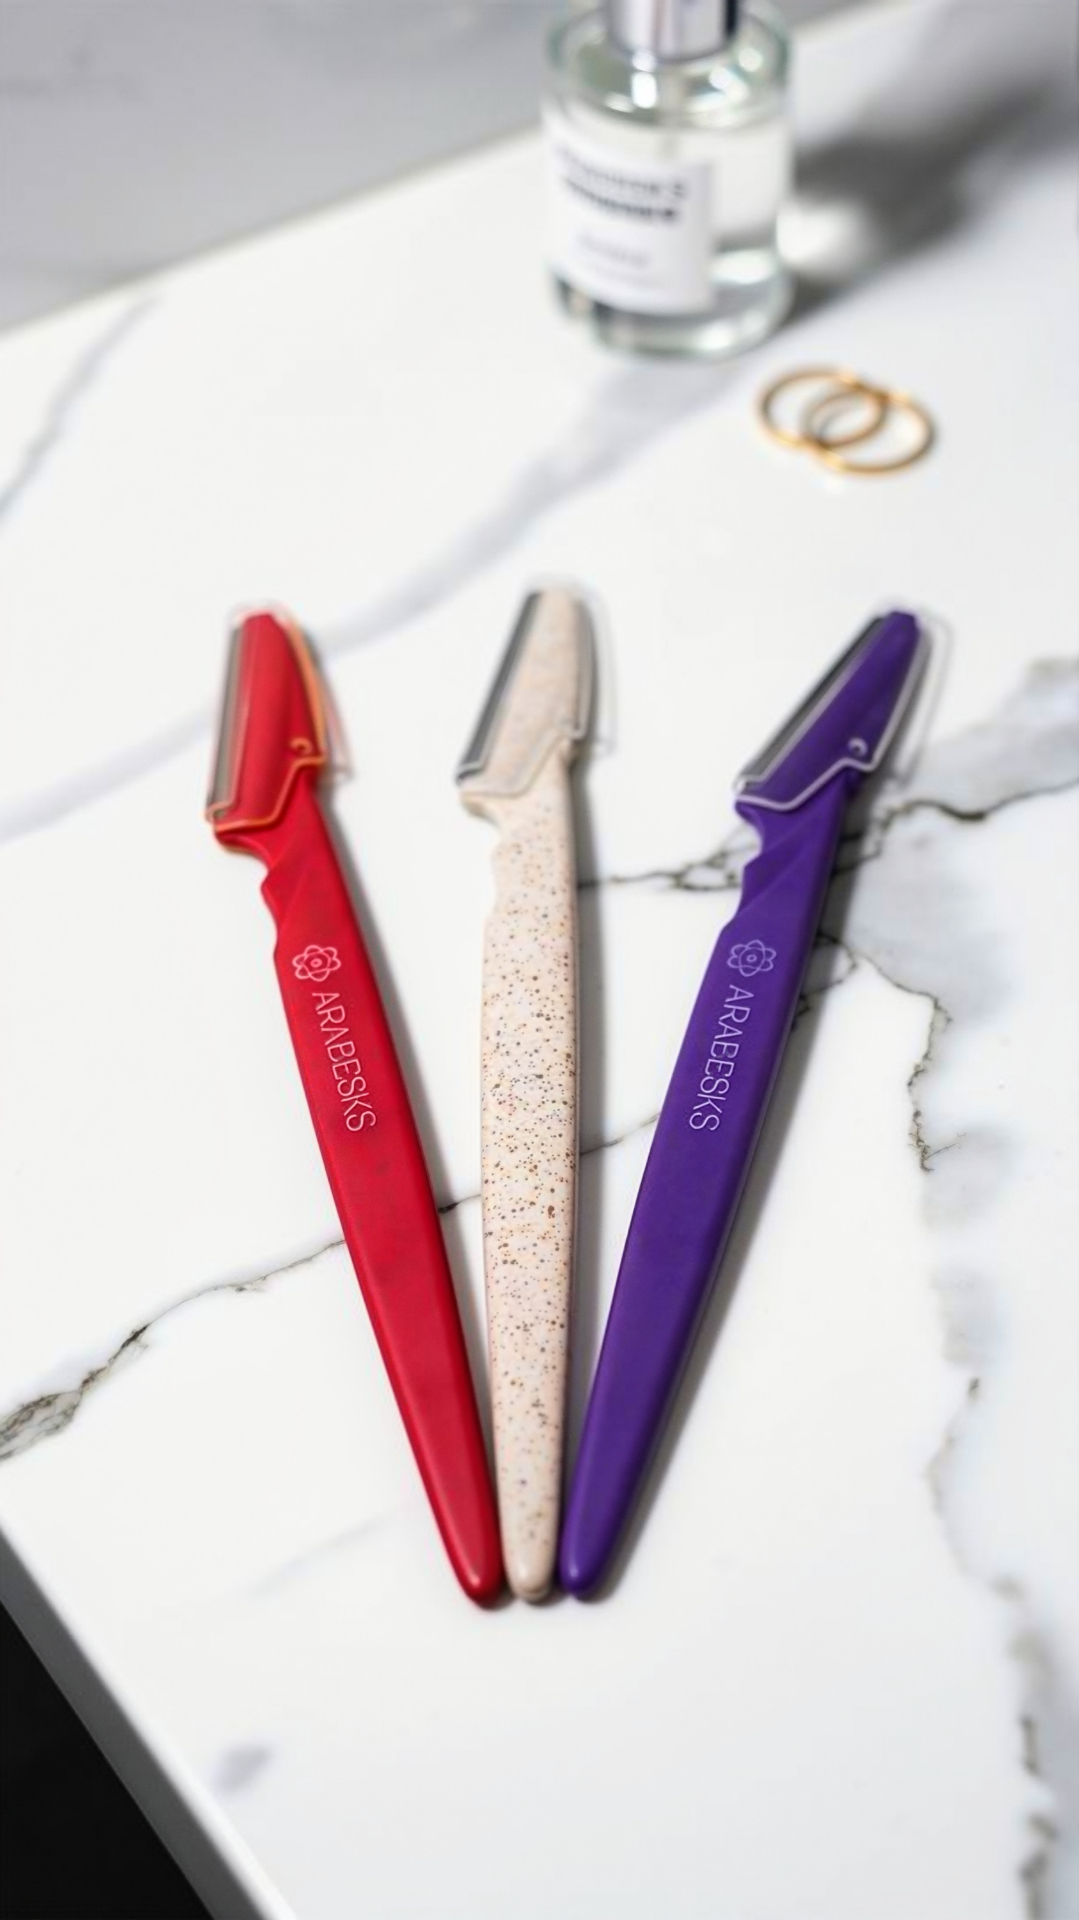
Choose Your Weapon Wisely
Not all dermaplaning tools are created equal. Look for a tool specifically designed for facial dermaplaning with a high-quality stainless steel blade. The handle should feel comfortable and secure in your hand, giving you complete control over pressure and movement.
The Gentle Technique That Gets Results
Perfect Your Grip and Angle
Hold your dermaplaning tool like you would hold a pencil: firm but relaxed. The magic angle is 45 degrees to your skin surface. This angle allows the blade to glide smoothly without digging in or scraping harshly.
Practice finding this angle on the back of your hand first if you're nervous. You should feel gentle contact without any pressure or discomfort.
The Taut Skin Trick
Use your non-dominant hand to gently pull your skin taut in the area you're working on. This creates a smooth, flat surface that prevents the blade from catching on uneven areas or fine lines. Think of it like stretching a piece of fabric before cutting: you want that perfectly smooth canvas.
Master the Stroke Technique
Start at your forehead and work in small sections. Use short, gentle strokes in a downward motion, moving from your hairline toward your jaw. Each stroke should be about 1-2 inches long: no sweeping motions across your entire face.
The key is consistency and gentleness. You're not shaving aggressively; you're gently skimming across the surface. If you feel any tugging, pulling, or discomfort, you're applying too much pressure.
Work Your Way Down Systematically
Follow this order for best results:
- Forehead (center to temples)
- Cheeks (start high and work down)
- Jawline and chin
- Upper lip area (be extra gentle here)
- Nose (carefully around the curves)
Take your time with each section. Rushing leads to mistakes, and mistakes lead to irritation.
The Sensitive Areas Game Plan
Around the Eyes
The skin around your eyes is incredibly thin and delicate. As a beginner, it's perfectly fine to skip this area entirely until you've mastered the technique on other parts of your face. When you do tackle this area, use the lightest possible touch and shorter strokes.
The Nose Challenge
Your nose has curves and angles that can be tricky to navigate. Work in very small sections and adjust your skin-stretching technique accordingly. Pull the skin to one side to create a flatter surface, then work in tiny, controlled movements.
Upper Lip Precision
This area requires extra attention because the skin is sensitive and the hair growth can be denser. Stretch your upper lip by pressing your tongue against it from the inside, creating a taut surface for easier, safer dermaplaning.
Post-Dermaplaning Care That Prevents Redness
The Immediate Rinse
As soon as you finish, rinse your face with cool water to remove any lingering dead skin cells and hair. Pat dry gently: your skin might be slightly pink, but this should fade within 15-20 minutes if you've used proper technique.
Toner Round Two
Apply toner again using gentle patting motions. This second application helps close your pores and provides a soothing effect on freshly exfoliated skin.
Moisturize Like Your Skin Depends On It
Your skin will be more receptive to products after dermaplaning, so choose a gentle, fragrance-free moisturizer. Avoid anything with active ingredients like retinol, glycolic acid, or salicylic acid for at least 24 hours post-treatment.
If you're planning to go outside, sunscreen is non-negotiable. Freshly dermaplaned skin is more sensitive to UV rays, so apply a broad-spectrum SPF 30 or higher.
Red Flags: When to Stop Immediately
Pain Is Never Normal
Dermaplaning should feel like gentle shaving: smooth and comfortable. If you experience any pain, burning, or sharp discomfort, stop immediately. Pain indicates you're either applying too much pressure or the blade is cutting into your skin rather than skimming the surface.
Visible Bleeding or Nicks
While tiny, barely visible scratches can occasionally happen to beginners, any visible bleeding means you need to stop, clean the area, and reassess your technique. Apply a gentle antiseptic and let your skin heal before attempting again.
Excessive Redness That Doesn't Fade
Some mild pinkness is normal and should fade within 20-30 minutes. If your skin remains red for hours or becomes increasingly irritated, you may have been too aggressive with your technique.
Common Beginner Mistakes to Avoid
Going Against the Grain
Always work in the direction of hair growth, which is typically downward on the face. Working against the grain increases the risk of ingrown hairs and irritation.
Using a Dull Blade
A dull blade requires more pressure and creates more friction, leading to irritation. Replace your blade regularly: typically after 3-5 uses, depending on your hair density and skin type.
Over-Exfoliating
Resist the temptation to go over the same area multiple times in one session. One gentle pass is enough. Over-working an area is a fast track to irritation and redness.
Skipping Patch Tests
If you have sensitive skin or are prone to reactions, test the technique on a small area like your jawline before doing your entire face.
Making Dermaplaning a Sustainable Routine
Timing Is Everything
Plan your dermaplaning sessions for evening when you won't be going out afterward. This gives your skin time to settle and reduces sun exposure on freshly exfoliated skin.
Frequency Guidelines
Most people can dermaplane every 3-4 weeks, which aligns with your skin's natural cell turnover cycle. Going more frequently can lead to over-exfoliation and sensitivity.
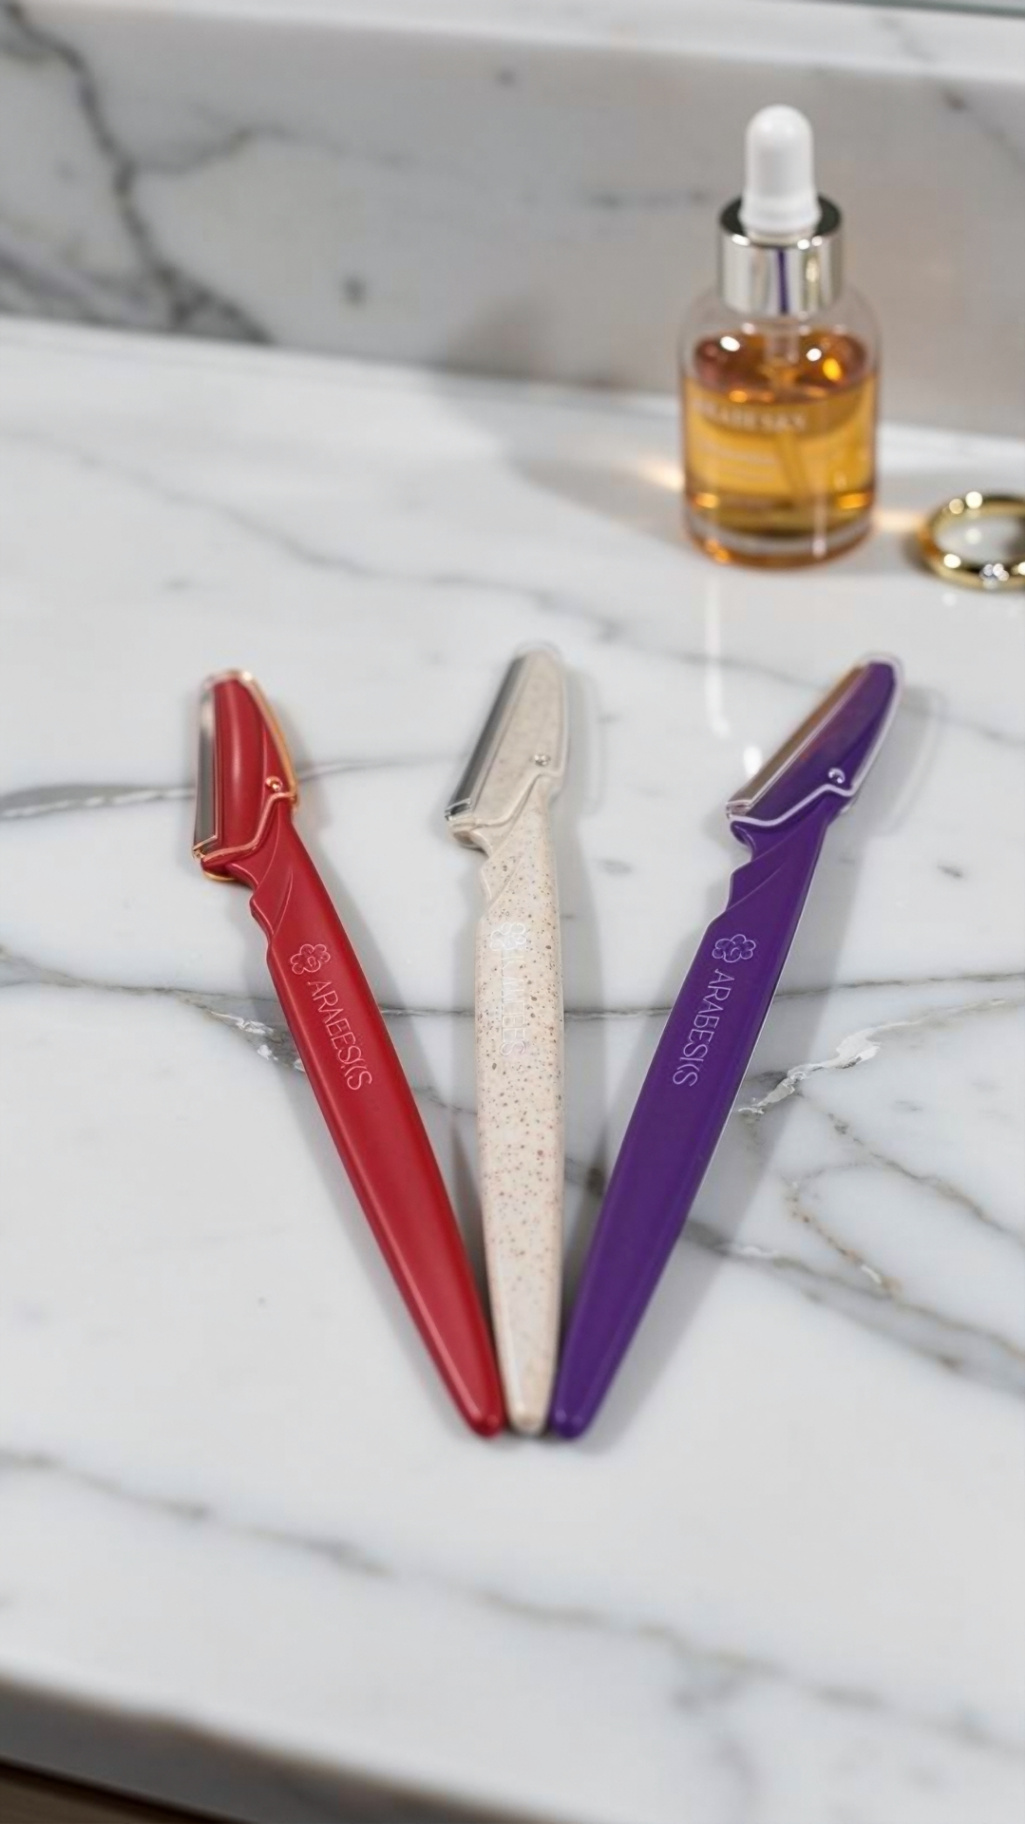
Tool Maintenance
Keep your dermaplaning tools clean and sharp. Rinse the blade thoroughly after each use, store it in a dry place, and replace it regularly. A well-maintained tool is safer and more effective.
The key to irritation-free dermaplaning lies in patience, preparation, and gentle technique. Start slowly, listen to your skin, and gradually build your confidence. With proper technique and the right tools, you'll achieve that coveted smooth, glowing complexion without any of the redness or irritation that can come from rushed or improper dermaplaning.
Remember, consistency beats intensity every time. A gentle, well-executed dermaplaning session will always give you better results than an aggressive approach that leaves your skin angry and irritated.